Self-care has become more important than ever in the fast-paced world of today. One remarkable method to alleviate muscle soreness and enhance recovery is through DIY percussive therapy using a massage gun. In this comprehensive guide, we’ll delve into the world of DIY Percussive Therapy: How to Use a Massage Gun at Home. Whether you’re an athlete, fitness enthusiast, or someone seeking relief from everyday muscle tension, this article is your ultimate resource.
Let’s explore this therapeutic practice together.
Table of Contents
The Basics of Percussive Therapy
Percussive therapy, also known as vibration therapy, involves using a massage gun to deliver rapid pulses of pressure to muscle tissues. These percussive massage devices are designed to mimic the benefits of a deep tissue massage, aiding in muscle recovery, pain relief, and relaxation. Before diving into the details, let’s understand the essential components of percussive therapy.
What Is a Massage Gun?
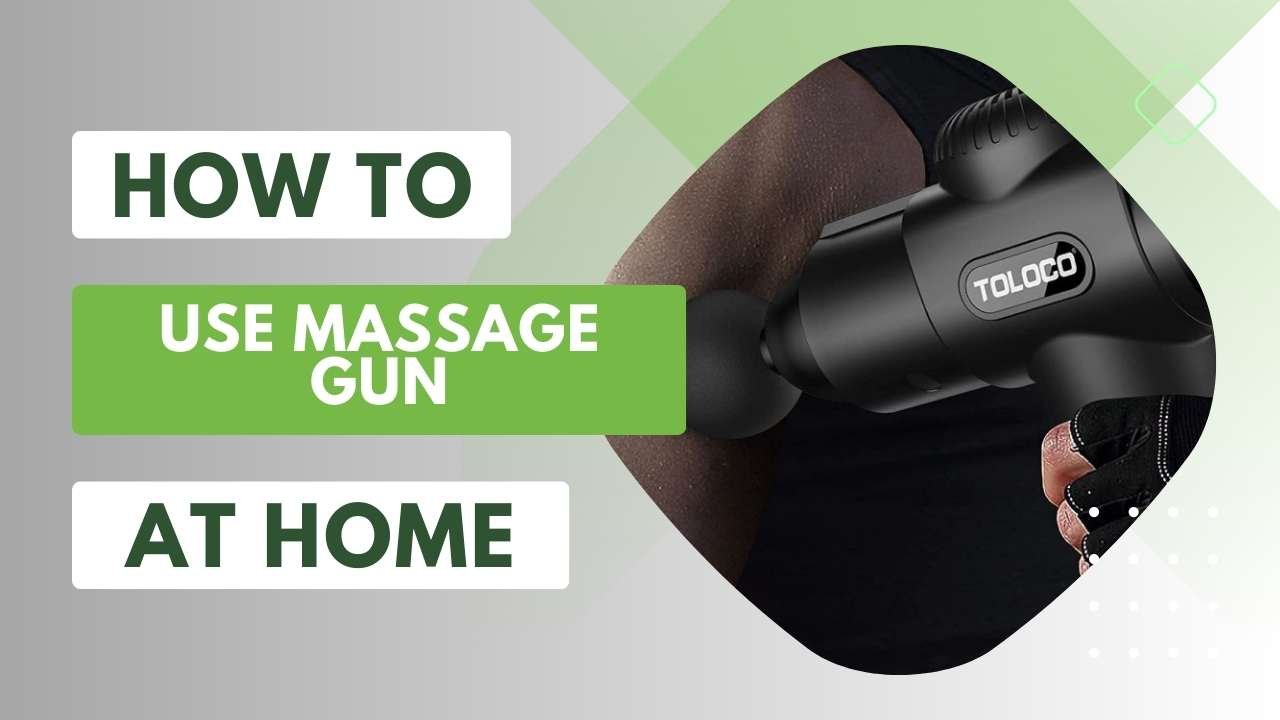
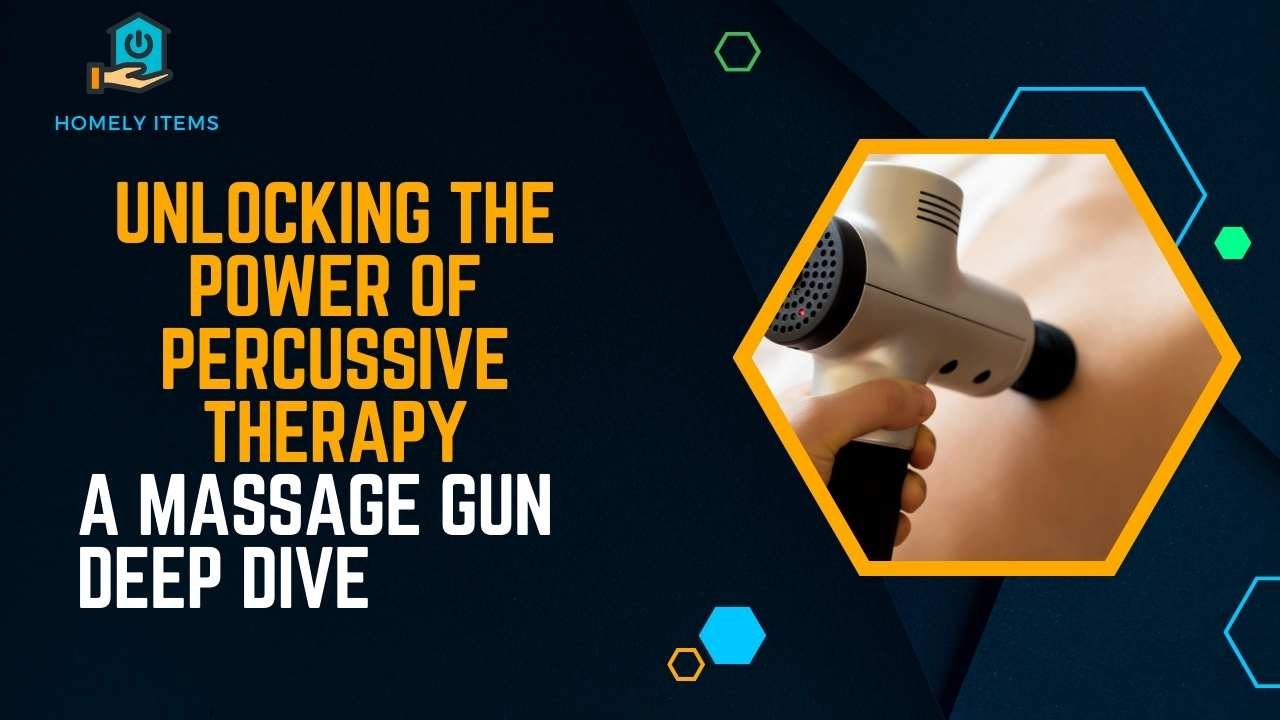
A massage gun, also called a percussion massager, is a handheld device that uses a motor to produce rapid, targeted vibrations. These vibrations penetrate deep into your muscles, promoting blood flow and relieving tension.
Benefits of DIY Percussive Therapy
- Muscle Recovery: DIY percussive therapy accelerates muscle recovery by reducing inflammation and increasing blood circulation.
- Pain Relief: It helps alleviate muscle soreness, stiffness, and even chronic pain conditions.
- Improved Range of Motion: Regular use can enhance flexibility and range of motion.
- Stress Reduction: Percussive therapy can relax both the body and mind.
DIY Percussive Therapy Techniques
Now that we’ve covered the basics, let’s get into the nitty-gritty of DIY Percussive Therapy: How to Use a Massage Gun at Home effectively.
Preparing for Your DIY Percussive Therapy Session
- Choose the Right Attachment: Massage guns come with various attachments, each serving a specific purpose. Select the one that suits your needs, whether it’s for a deep tissue massage or a softer touch.
- Warm-Up: It’s essential to warm up your muscles before using the massage gun. Gentle stretching or a few minutes of light exercise can help.
The Massage Process
- Start Slowly: Use the slowest speed setting at first, then gradually increase it as necessary.
- Targeted Approach: Focus on specific muscle groups, working on each for about 30 seconds to 2 minutes.
- Maintain Proper Form: Hold the massage gun at a 45-degree angle and apply gentle pressure. Avoid pressing too hard.
- Relaxation: Breathe deeply and relax during the massage. Tension can counteract the benefits.
- Post-Massage Stretch: After your DIY percussive therapy session, perform some post-massage stretching to maximize the effects.

DIY Percussive Therapy: How to Use a Massage Gun at Home
This section will guide you through a step-by-step process to ensure you get the most out of your DIY percussive therapy sessions at home.
Step 1: Set the Mood
Create a peaceful environment. Dim the lights, play soothing music, and ensure you won’t be interrupted.
Step 2: Choose the Right Attachment
Select the attachment that best suits your needs. For larger muscle groups, opt for a larger, softer attachment. Smaller attachments work well for pinpointed therapy.
Step 3: Warm-Up
Before using the massage gun, warm up your muscles with light stretching or a brief warm shower. This prepares your body for the therapy.
Step 4: Start Gradually
Begin with the lowest speed setting and gently apply the massage gun to your desired muscle group. Let the gun do the work; there’s no need to press too hard.
Step 5: Targeted Therapy
Focus on one muscle group at a time, moving slowly and methodically. Spend 1-2 minutes on each area, adjusting the speed as needed.
Step 6: Relax and Breathe
Relax your muscles and take deep breaths during the therapy. This helps maximize the benefits.
Step 7: Post-Therapy Stretch
After your DIY percussive therapy session, perform gentle stretches to prevent muscle tightness.
FAQs
Is DIY percussive therapy safe for everyone?
Yes, it’s generally safe for most individuals. However, if you have specific medical conditions, consult your healthcare provider before using a massage gun.
How often should I use a massage gun?
The frequency of use varies, but 2-3 times a week is a common recommendation. Pay attention to your body and make adjustments as needed.
Can I use a massage gun on sensitive areas?
Avoid using a massage gun on your face, neck, or any area with injuries, open wounds, or acute pain.
What’s the ideal time duration for each session?
A session can last from 15 to 30 minutes, depending on your needs and preferences.
Are there any side effects of percussive therapy?
When used correctly, side effects are minimal. However, excessive or incorrect use can lead to bruising or soreness.
Can someone with no prior expertise use a massage gun?
Yes, massage guns are user-friendly, but it’s advisable to start at a lower speed and gradually increase it as you become more comfortable.
Also Read: Massage Gun Techniques for Stress Relief and Relaxation: Complete Guide
Conclusion
DIY Percussive Therapy: How to Use a Massage Gun at Home is an empowering and effective way to take control of your muscle health and overall well-being. By following the techniques and tips outlined in this guide, you can experience the numerous benefits of percussive therapy from the comfort of your home.
Remember to start slowly, focus on proper technique, and always prioritize your safety. Incorporate DIY percussive therapy into your self-care routine, and you’ll soon discover the transformative effects it can have on your body and mind.


